- Get Started
- Video Tutorials
- Knowledge Base
- FAQs & Troubleshooting
How to Use the Picture Editor?
HiSeller’s professional image editing tool, with user-friendly editing functions and a large number of stickers, filters, borders and other materials, makes it easy to create more attractive product images and attract more potential buyers.
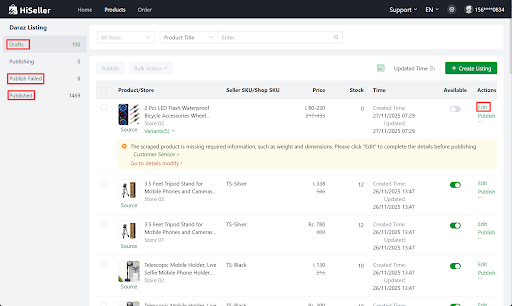
Feature entry: Products > Drafts, Publish Failed, Published > Click into Edit button
Steps to use HiSeller Picture Editor
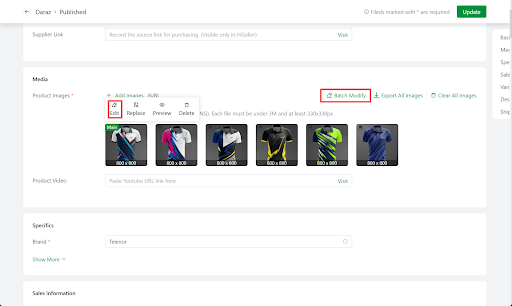
1. Click into Edit page > Click the Edit button on the image > Select Edit or Batch Modify to edit your pictures
2. Feature Introduction
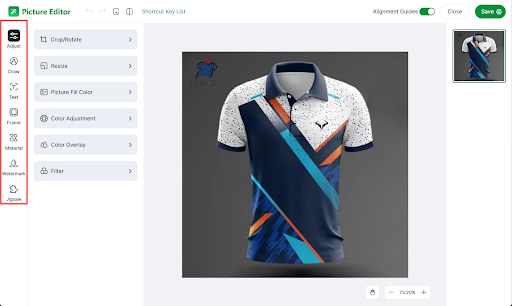
Adjust
[Crop/Rotate]: Crop according to the corresponding proportion, custom proportion, flip the picture up and down/left and right
[Resize]: Adjust the picture size according to the corresponding proportion
[Picture Fill Color]: Adjust colors in the selected areas
[Color adjustment]: Adjust the clarity, saturation, brightness, contrast, color temperature and hue
[Color overlay]: Overlay color on the picture
[Filter]: Add filter to the picture
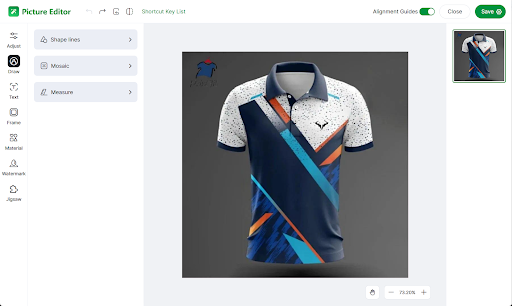
Draw
[Shape lines]: Customize line drawing
[Mosaic]: Mosaic can be made on the picture
[Measure]: Add a ruler to show the buyer how long and wide the item, which is convenient for buyers to judge and buy. You can customize the size information / text / angle and adjust the font size
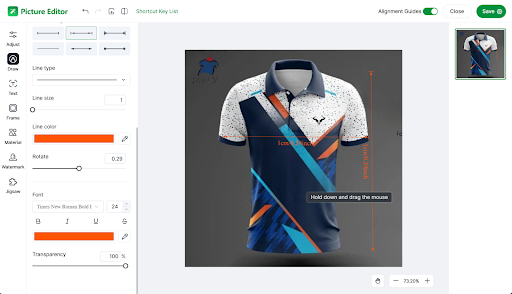
Text: Add text, add effects to the text, etc.
Frame: Add border to the picture
Material: Add some material icons to the picture, such as discount logo, etc.
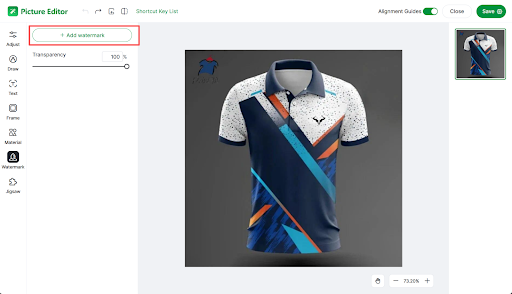
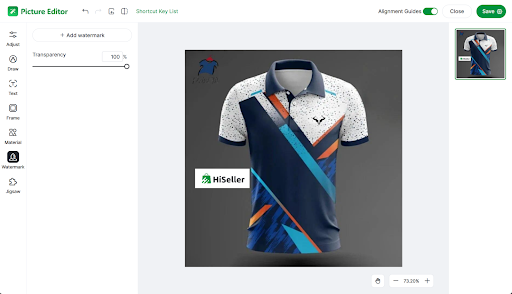
Watermark: You can directly copy the picture, paste it in with ctrl+v/upload the picture locally, and add a watermark. Also, you can click Add watermark to upload the picture.
Jigsaw: You can select and arrange multiple images into a grid layout, effectively stitching several images together to create a single composite image
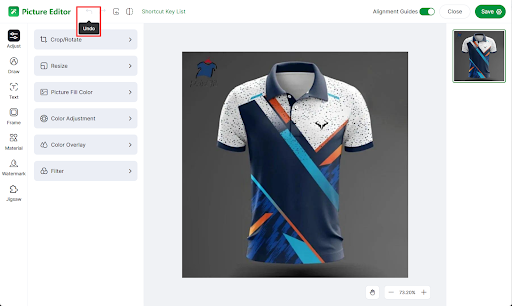
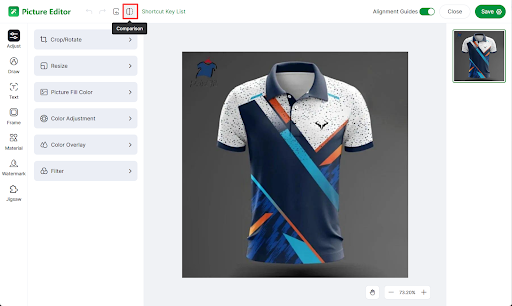
3. Top-left Button Function
Undo/Redo: Undo/ redo the current operation
Restore: Restore the original image
Comparison: Compare the effects before and after editing